
Why tile adhesive is important in your house
Hollow beds, seepage and popped tiles — what actually goes wrong behind a floor, and how a thin-bed adhesive prevents it.
How it works
Polymer-modified adhesive bonds chemically to the tile and the substrate in a thin bed. Follow this method and a tile laid today will still be tight decades later.
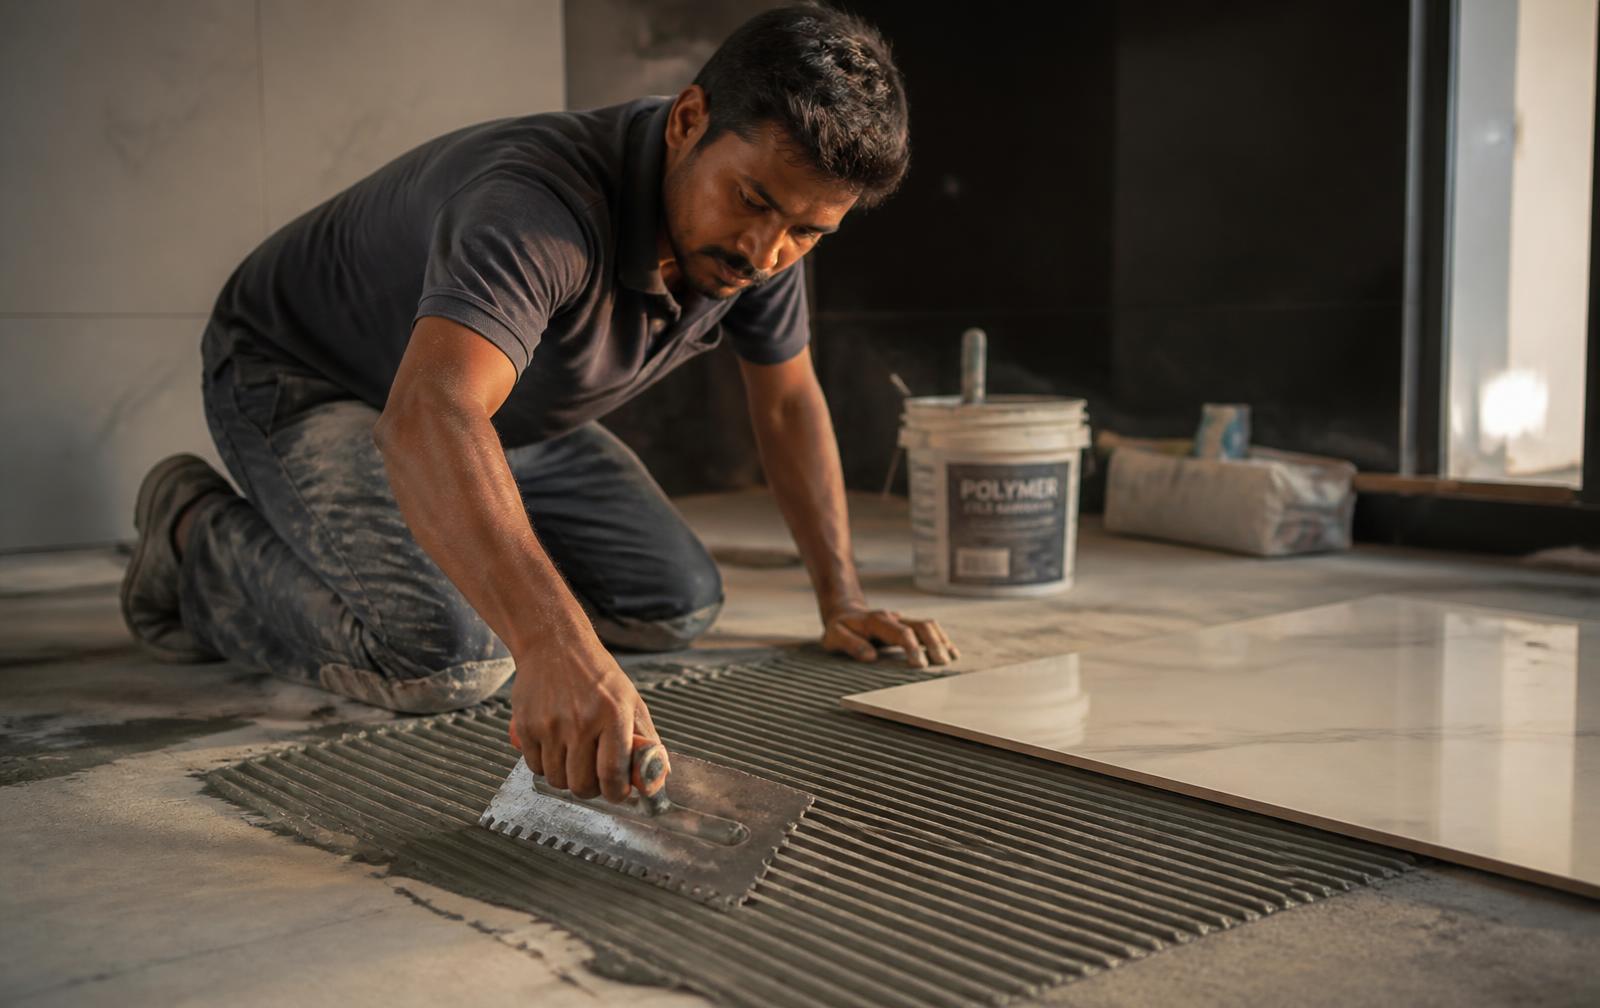
The principle
Traditional sand-cement beds are 20–40 mm thick, shrink as they dry and trap air pockets that later become hollow, drummy tiles. A 3–6 mm adhesive bed grips both faces, carries far less dead load and lets you tile straight over existing tiles.
Step by step
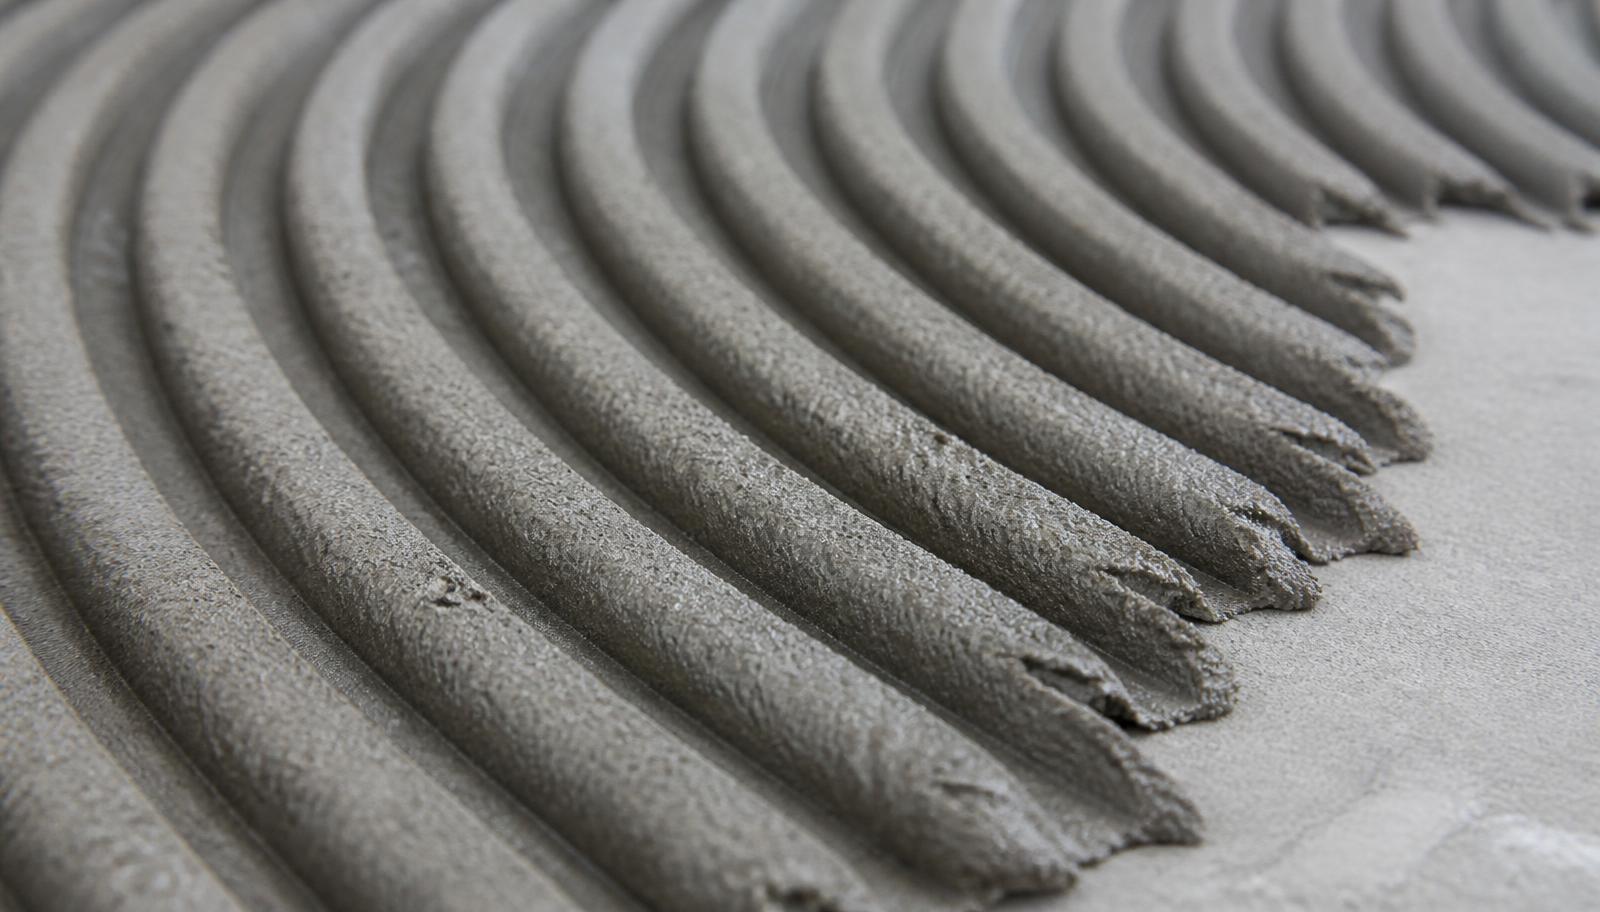
Substrate must be clean, sound, level and free of dust, oil or loose material. Dampen very absorbent surfaces; never apply on a flooded slab.
Level tolerance within 3 mm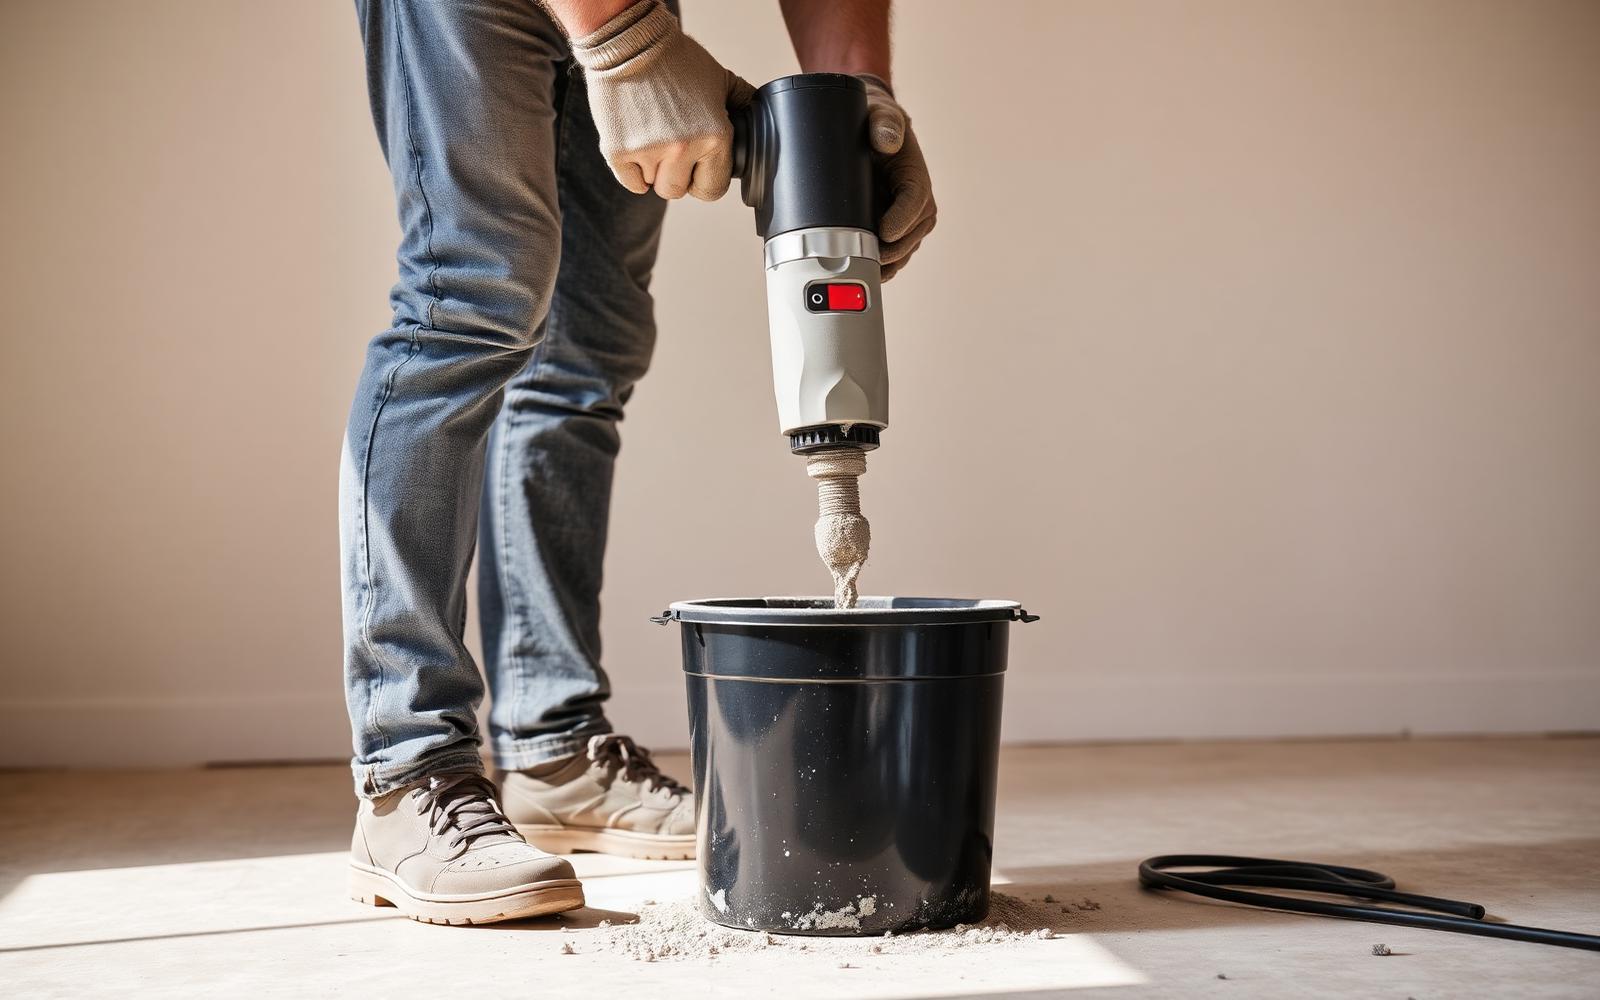
Add 5.5–6 litres of clean water per 20 kg bag, mix to a smooth lump-free paste with a paddle mixer, rest 5 minutes and remix.
Pot life 2 hours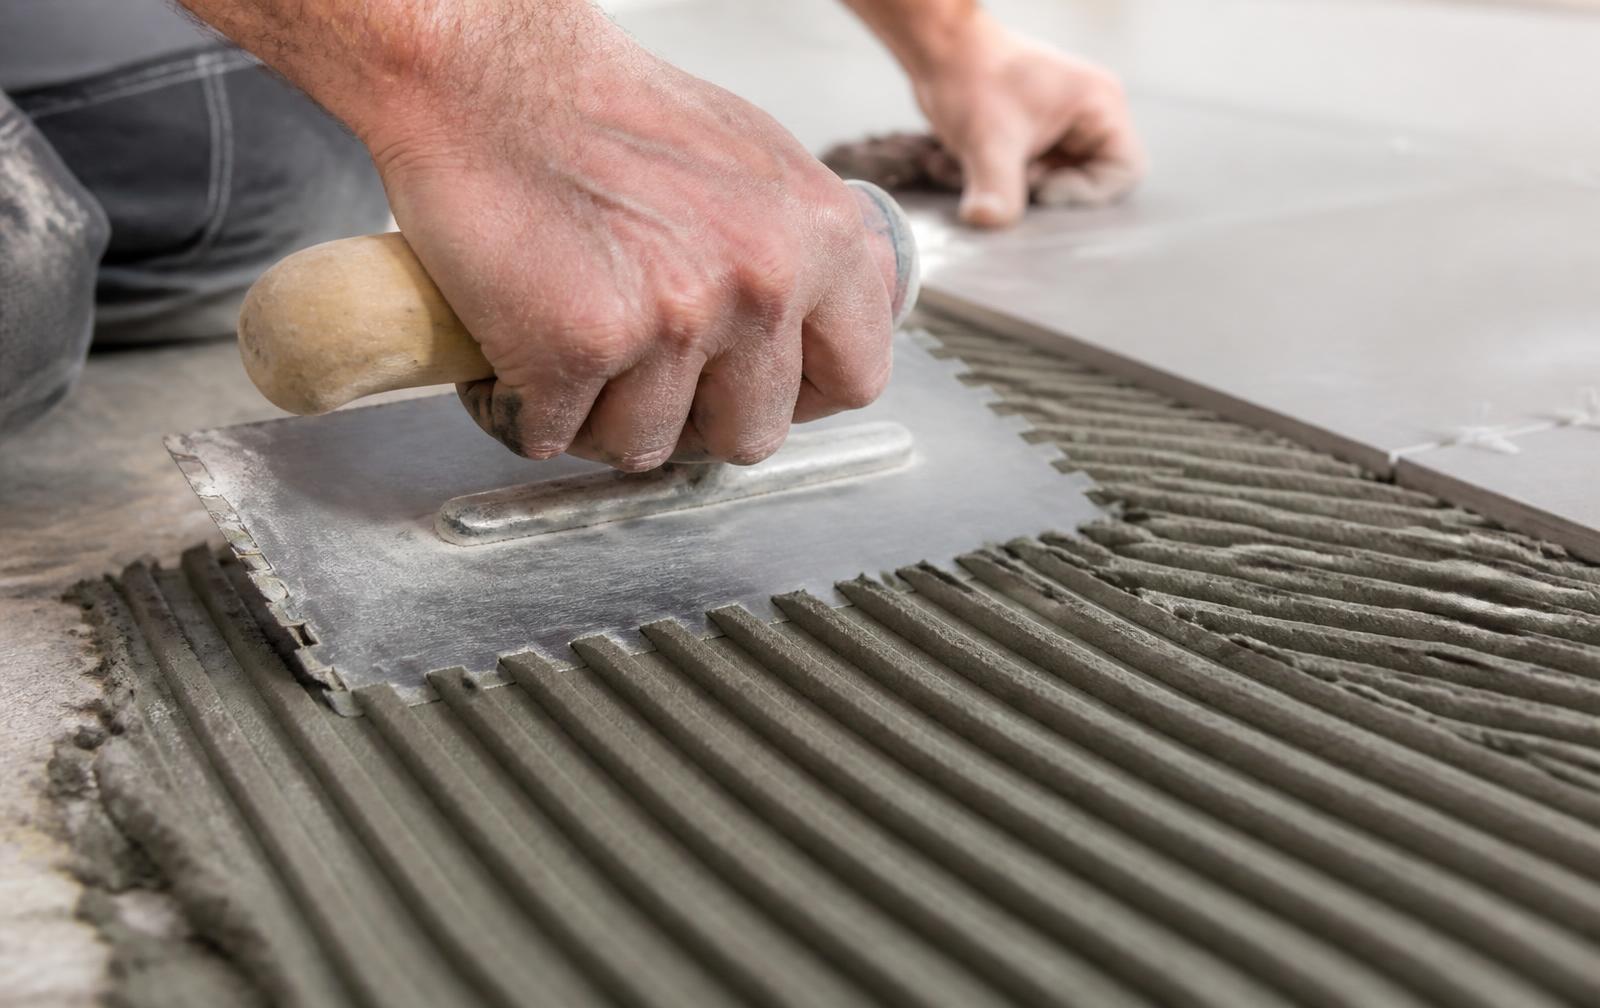
Spread with a 6 mm x 6 mm square notched trowel over an area you can tile within 15 minutes. Back-butter large format tiles.
Open time 15 minutes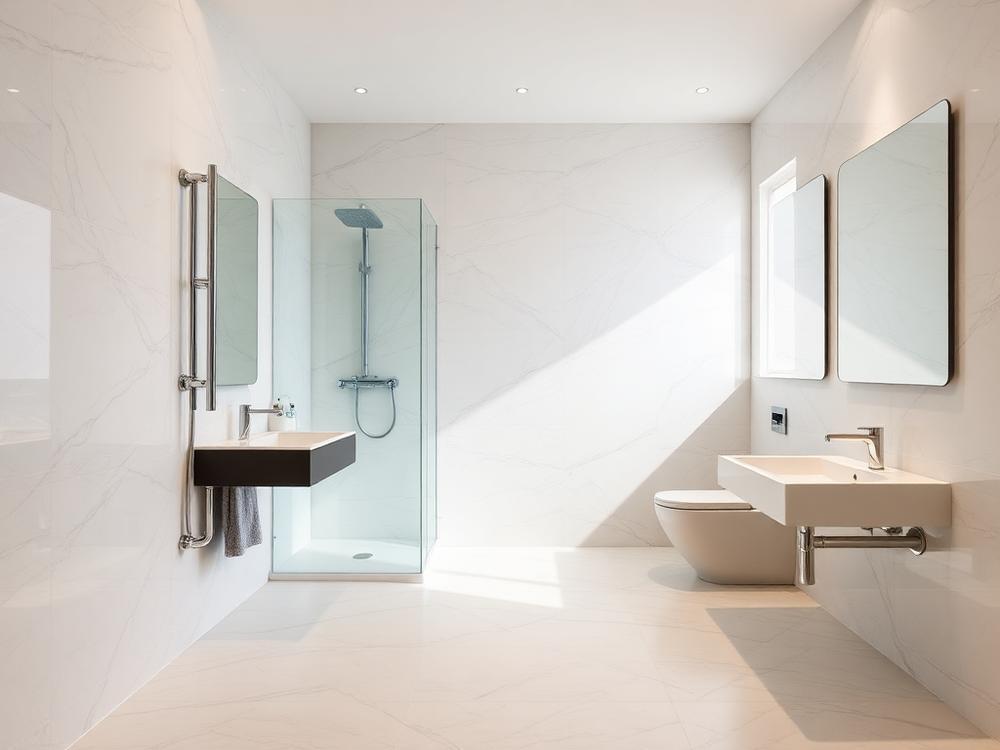
Press and slide the tile into the ridges to collapse them, then tap for full contact. Alignment can be corrected for up to 20 minutes.
Adjusting time 20 minutes
Leave undisturbed for 24 hours before grouting or light traffic. No water curing is required.
Set in 24 hours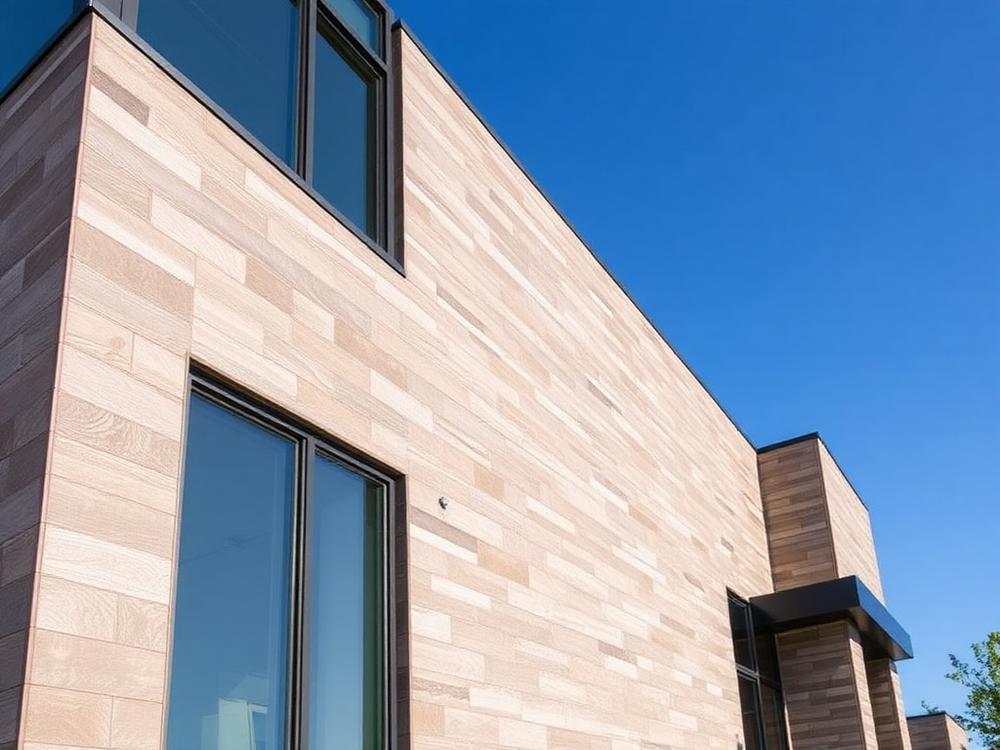
The bond continues to develop and reaches full designed strength after 28 days of service.
1.1 N/mm² tensileCuring timeline
One 20 kg bag, from the moment water goes in.
Watch
Hollow beds, seepage and popped tiles — what actually goes wrong behind a floor, and how a thin-bed adhesive prevents it.
Coverage per bag, water ratio, open time and strength figures explained straight off the pack.